Care & use

Look after it, and it looks after you.

A few habits keep every piece cooking like new, and keep your warranty valid. Choose your range.

Care guide

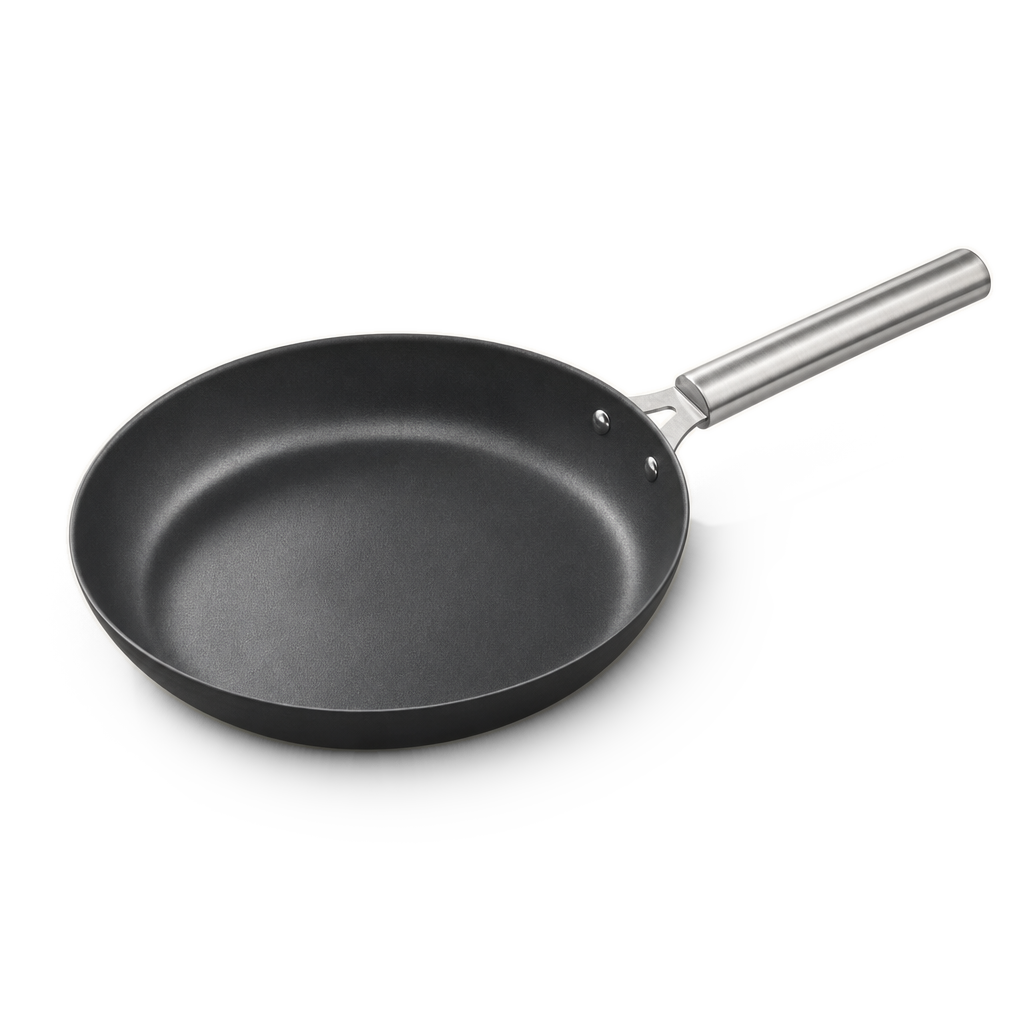
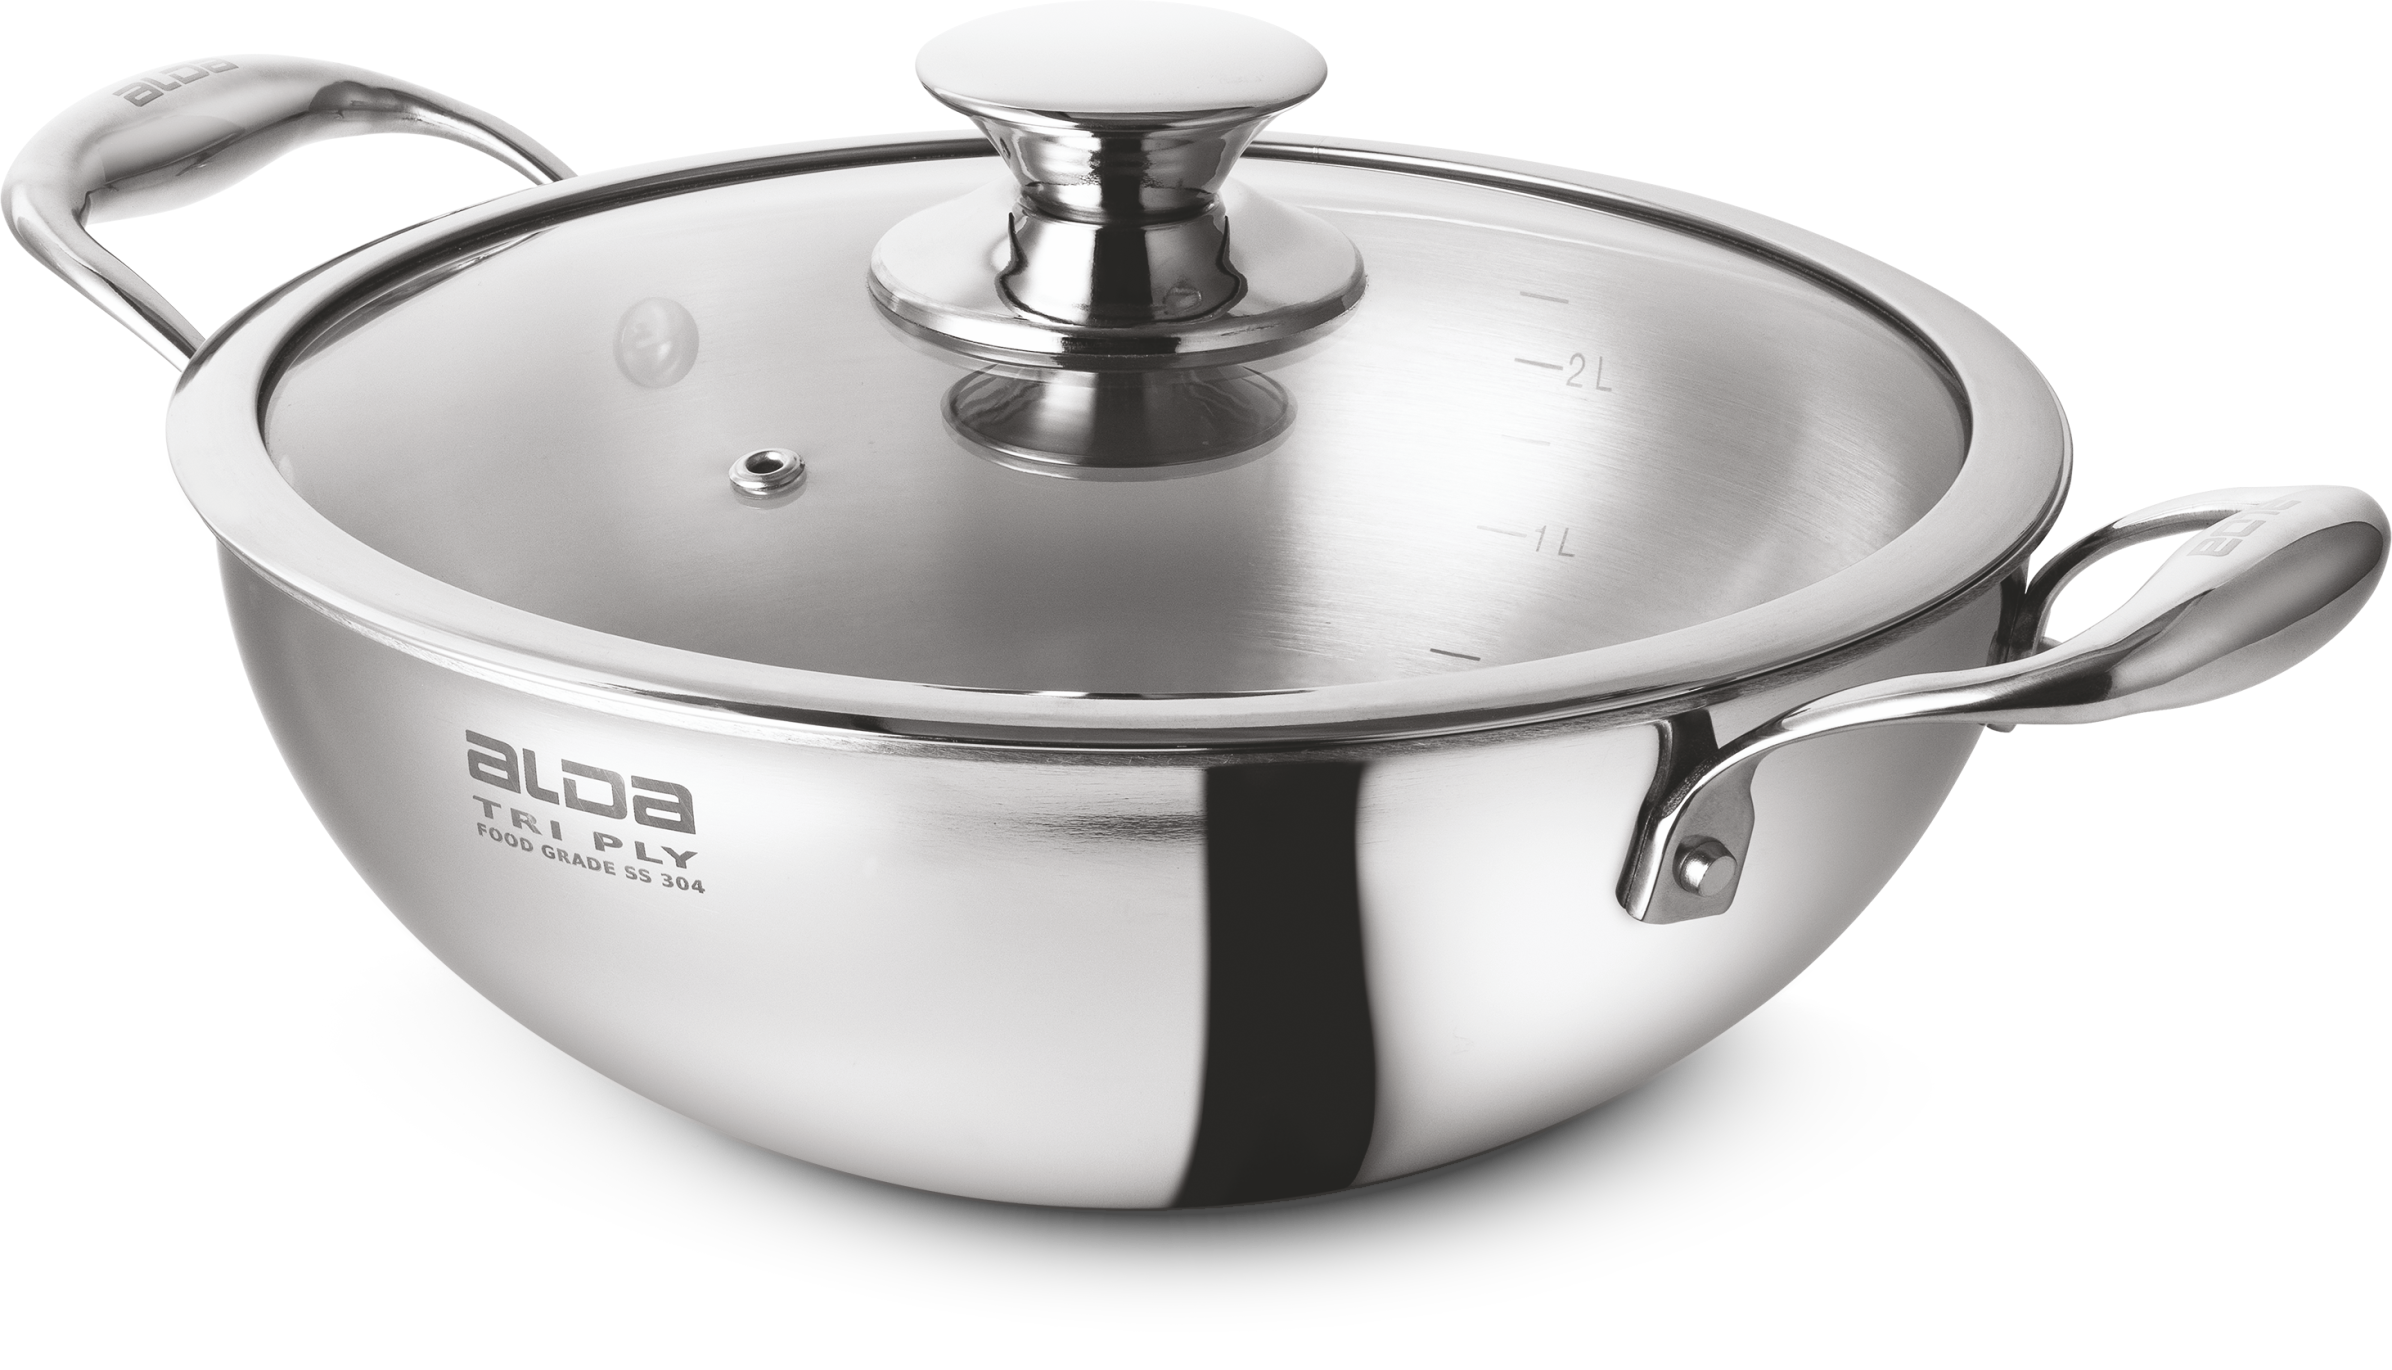
Tri-Ply stainless steel

Steel that meets your food, aluminium that moves the heat. Treat it well and it cooks the same in year ten as in week one.

  1. 01

    Before the first use

    Wash each piece in warm, soapy water, rinse and dry. Towel-drying straight after washing keeps the finish and stops water spots.

  2. 02

    Oil, then heat

    Never heat the pan empty. Add the oil, warm the pan at low to medium heat, then add the food. Keep high heat for boiling and reducing.

  3. 02

    Liquid first, then heat

    Never heat the pan empty: the milk, water or oil goes in first, then warm it at low to medium heat.

  4. 03

    Match the burner

    The flame should touch only the base, never lick up the sides.

  5. 04

    Let food release itself

    Protein sticks while it sears and lets go once a crust forms. If it resists the turner, give it another minute.

  6. 05

    Wash promptly

    Food can build up if a pan waits. For stuck-on food, soak in warm soapy water, bring it to the boil for 10 minutes, let it cool, then use a soft cloth or nylon scourer.

  7. 06

    Dry it fully

    The outer layer is magnetic 430 stainless, which is what makes the pan induction-ready. Dry it after washing so it can't spot.

  8. 07

    Clear the tint

    A blue or rainbow tint is harmless heat colouration. Baking soda and water, or a little vinegar, removes it.

  9. 08

    Choose your tools

    Metal utensils are welcome on the uncoated steel surface. Wood, nylon and silicone are fine too. Do not cut with knives or scissors inside the pan.

  10. 09

    Use the right lid in the oven

    Oven-safe without the glass lid. Stainless-steel lids are also oven-safe. Use oven gloves for hot cookware and lids.

Avoid

  • Heating the pan empty.
  • Steel wool, abrasives, bleach or ammonia.
  • Cutting with knives or scissors in the pan.
  • Storing salty or acidic food in it for long, which can pit the steel.
Care guide

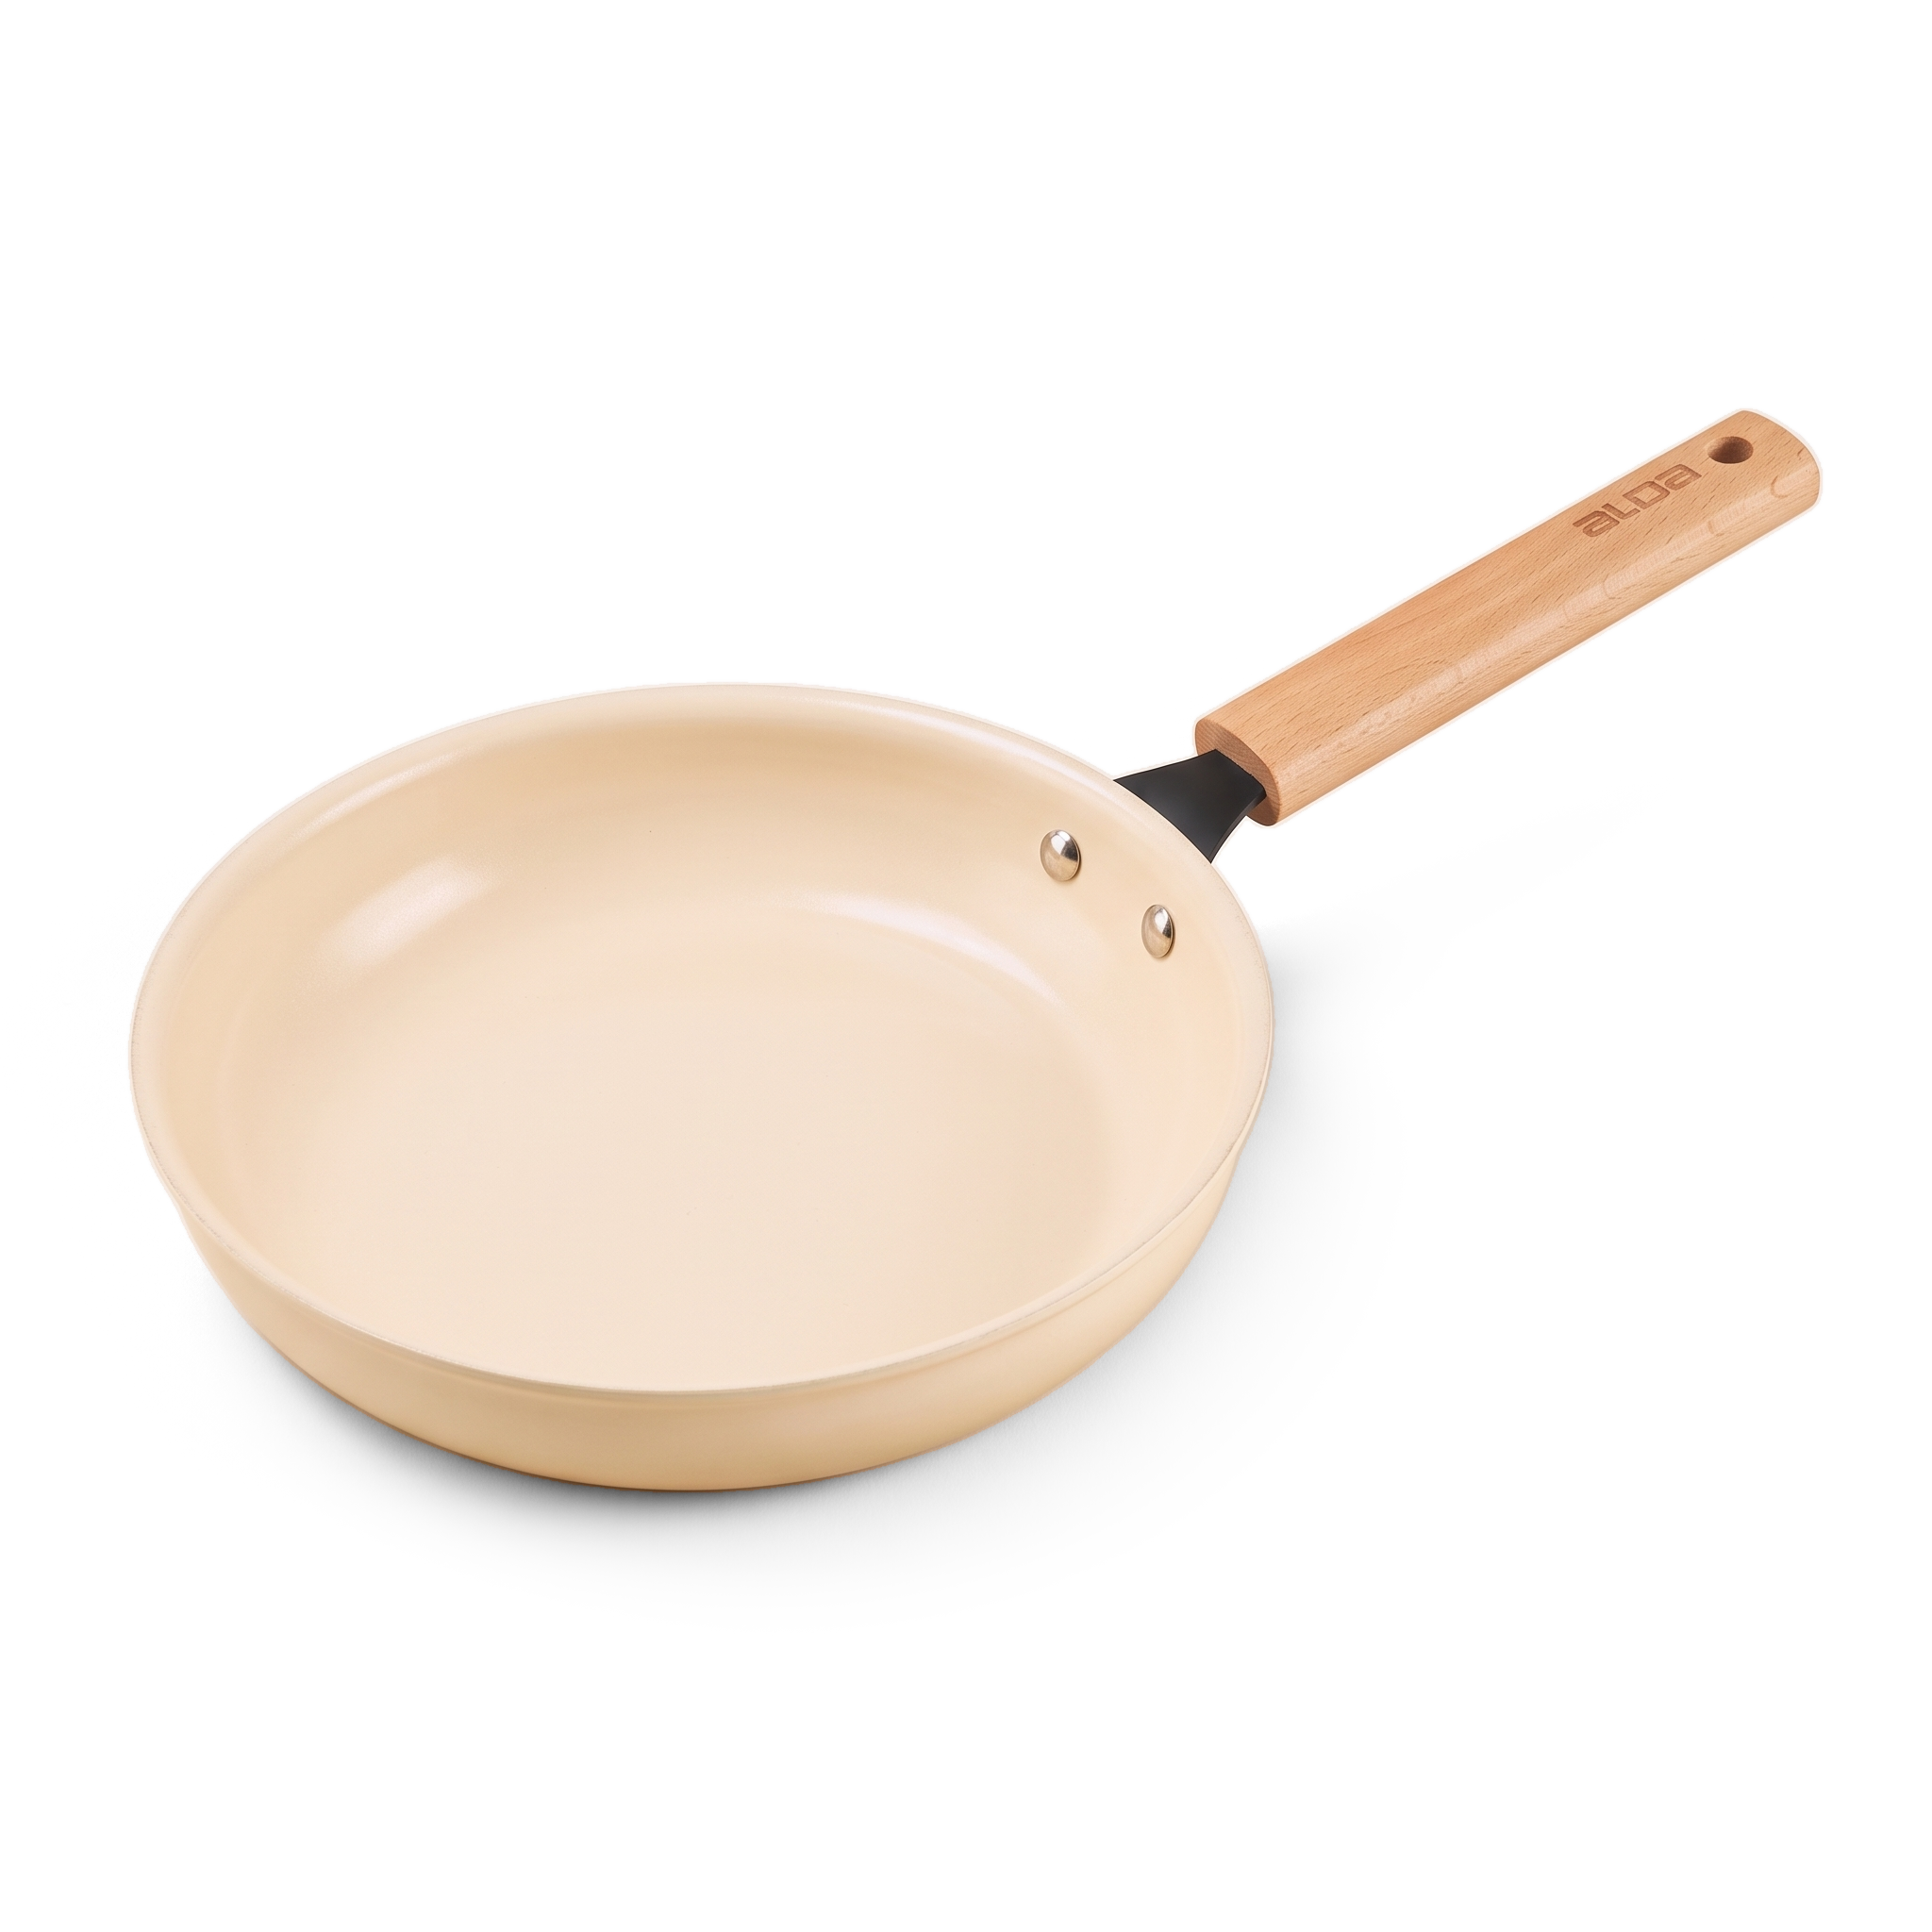
Ceramico

A silica surface derived from sand. It asks for gentle heat, soft tools and a brush of oil, and gives back an effortless release.

  1. 01

    Before the first use

    Wash in warm, soapy water, rinse and dry.

  2. 02

    Cook at medium

    Ceramic releases best at low to medium heat. A high flame is rarely needed and shortens the coating's life.

  3. 03

    A brush of oil

    Not a pour. A little oil conditions the surface as much as it cooks the food.

  4. 04

    Soft tools only

    Use wood, silicone or nylon. Metal can leave grey marks; if it does, a powder cleaner takes them off.

  5. 05

    Wash warm, by hand

    Soak stubborn food in hot soapy water, then use a non-abrasive sponge. Rinse and towel-dry. Ceramic isn't for the dishwasher.

  6. 06

    Store it separately

    Don't nest ceramic against metal. For everyday dust, wipe with a dry cloth.

Avoid

  • Heating the pan empty.
  • Metal utensils, knives or scissors.
  • Steel wool, abrasives, bleach or ammonia.
  • The dishwasher.

Not oven safe. Do not put cookware with wooden or Bakelite handles in the oven.

Care guide

Evrlast Non-Stick

A PEEK coating tough enough for steel tools, formulated without the PFAS family of chemicals.

  1. 01

    Use the tools you like

    Steel, wood or silicone. The coating is rated for metal utensils, so a turner or a pair of tongs is fine.

  2. 02

    Oil, then heat

    Never heat the pan empty. Add a little oil, then let the pan come up to temperature at low to medium heat: the coating releases better warm.

  3. 03

    Cook at low to medium

    Keep high heat for boiling and reducing.

  4. 04

    Cool before washing

    Let the heat come out of the pan before it meets water. Sudden cold is hard on any pan.

  5. 05

    Wash gently

    Warm soapy water and a soft, non-abrasive sponge. Soak anything stubborn first.

Avoid

  • Heating the pan empty.
  • Steel wool, abrasives or harsh cleaners with chlorine bleach.
  • Cutting with knives or scissors in the pan.

Care guide

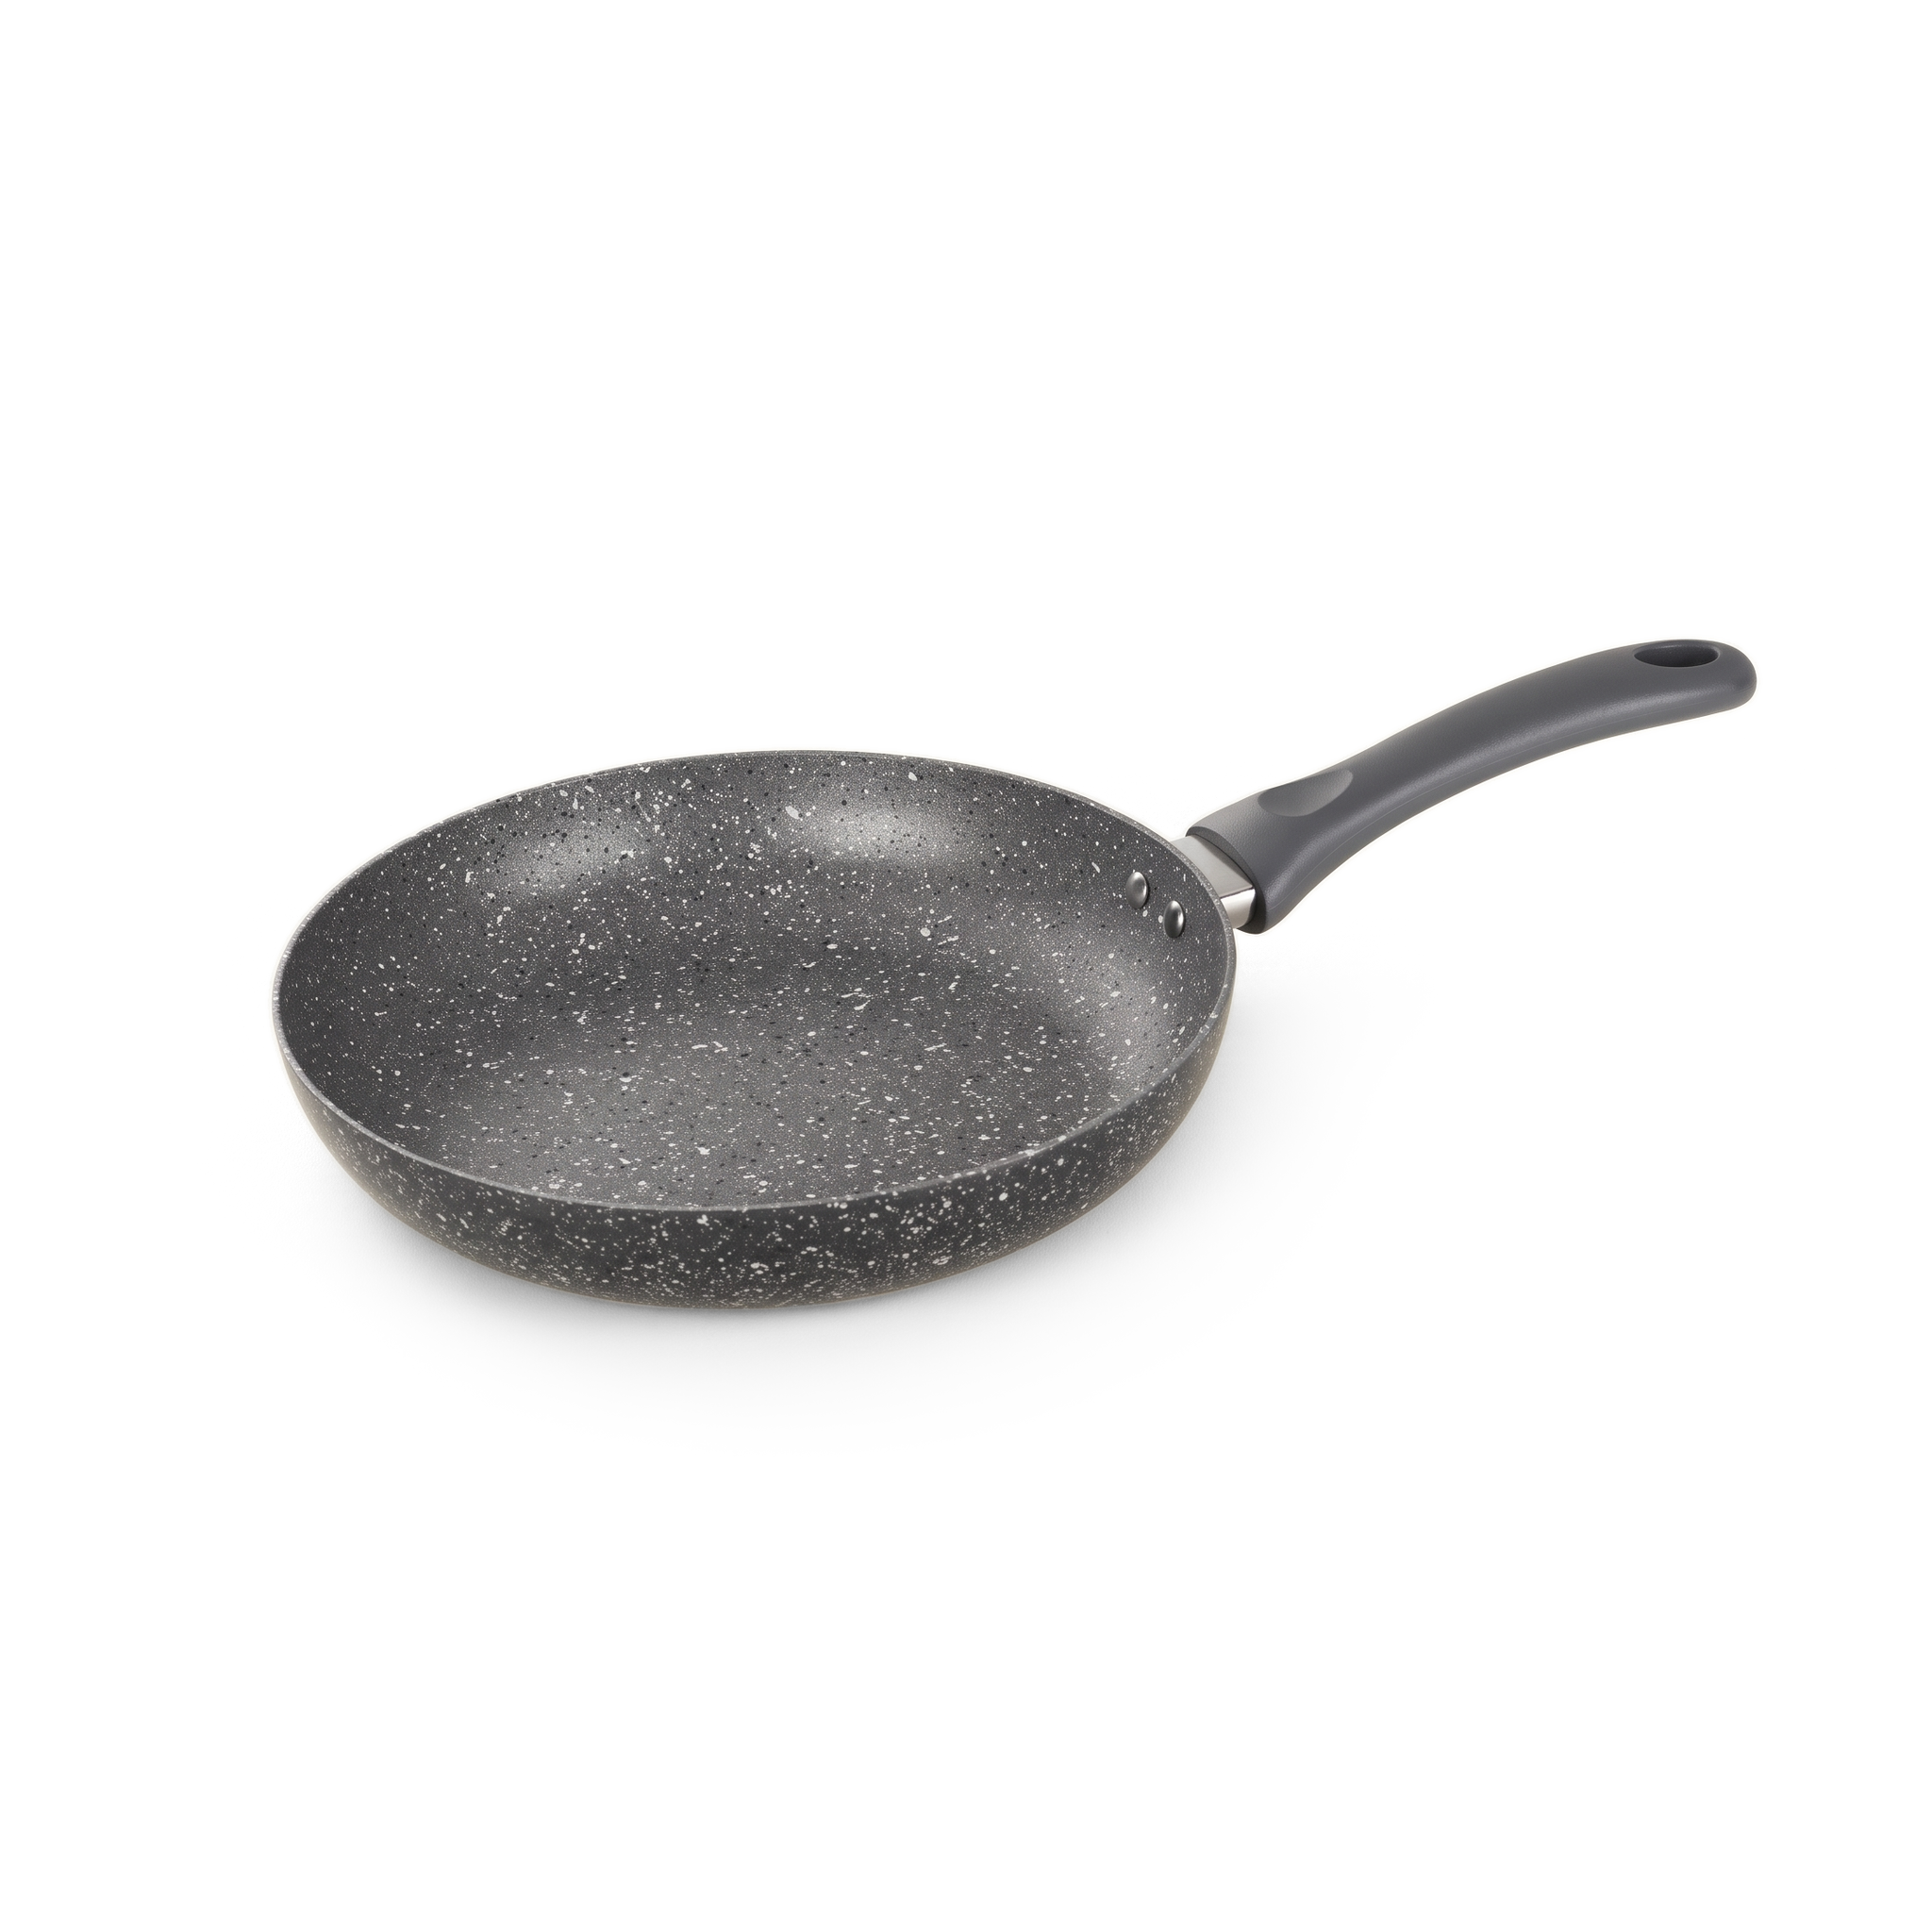
Marbello

Five layers of water-based non-stick, made to cook on very little oil. It asks for oil first, low to medium heat and soft tools.

  1. 01

    Before the first use

    Wash in warm, soapy water, rinse thoroughly and dry.

  2. 02

    Oil, then heat

    Never heat the pan empty. Put in the oil, food or water first, then turn on the heat. Cook with oil the first time: it extends the coating's life.

  3. 03

    Match the burner

    Match the pan to the size of the burner, and keep the flame on the base, never up the sides.

  4. 04

    Cook at low to medium

    Low to medium heat gives the best results. Keep high heat for boiling or reducing liquids.

  5. 05

    Soft tools only

    Use nylon, plastic, silicone or wooden utensils. Metal can damage the coating and void the warranty.

  6. 06

    Wash gently

    Soak stubborn food in hot, soapy water, then clean with a soft, non-abrasive sponge. It is dishwasher safe, but wash it by hand when food has built up.

  7. 07

    Rinse and towel-dry

    Rinse thoroughly after washing and dry with a clean cloth.

Avoid

  • Heating the pan empty, which damages the coating and voids the warranty.
  • Metal utensils, knives, scissors or other sharp objects, which damage the surface and void the warranty.
  • Steel wool, abrasives, harsh detergents or cleansers with chlorine bleach, which damage the surface and void the warranty.

Not oven safe. Do not put cookware with wooden or Bakelite handles in the oven.

Photograph coming soonCast ironCare guide

Care guide

Cast iron

Pre-seasoned, and better every time you cook in it. A little oil after each wash is all it asks.

  1. 01

    Before the first use

    Wash with warm water and mild soap, this once. Dry it thoroughly, then wipe a thin layer of vegetable oil over every surface.

  2. 02

    Preheat, then oil

    Warm the pan before food goes in, and use a little oil or fat with anything but rotis.

  3. 03

    Cooktops

    Cast iron works on gas and induction.

  4. 04

    Clean it warm, without soap

    Let it cool a little, then clean with warm water and a soft scrubber. Coarse salt lifts stubborn residue.

  5. 05

    Dry at once, then oil

    Dry it straight after washing so it can't rust, then wipe on a thin layer of oil to keep the seasoning.

  6. 06

    Re-season now and then

    If rust appears, remove it with steel wool, then wash, dry and oil it again.

Avoid

  • Soap after the first wash, and the dishwasher.
  • Soaking, or leaving it wet.
  • Long-cooking acidic food like tomato, which strips seasoning.
  • Stacking with other cookware, which can chip it.

Not oven safe. Do not put cookware with wooden or Bakelite handles in the oven.

Care guide

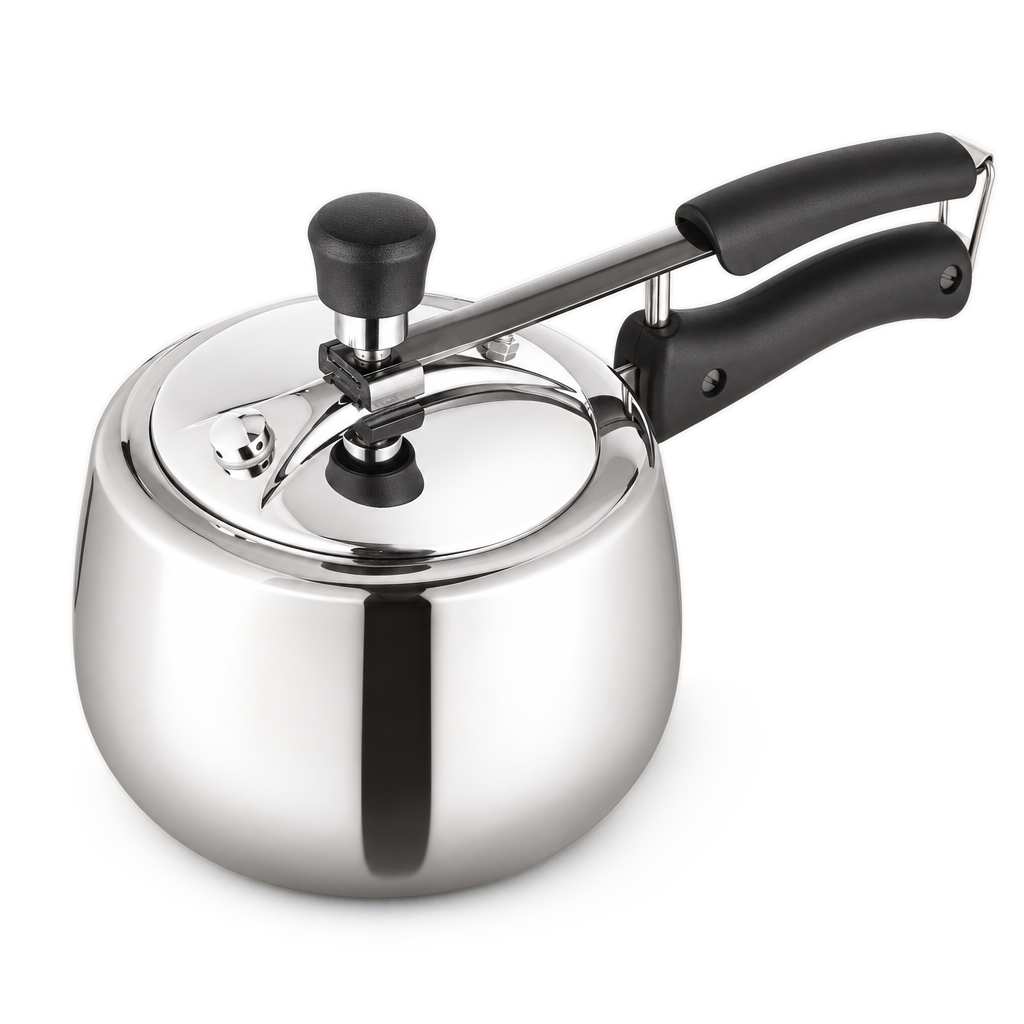
Pressure cookers

Food-grade steel under pressure. A few habits keep every cook safe.

  1. 01

    To close the outer lid

    Take the whistle weight off the vent tube. Check the gasket sits properly inside the lid, line up the arrow on the lid with the arrow on the handle, press the lid down and bring the handles together until they align. Then lock the weight back on.

  2. 01

    To close the inner lid

    Check the vent tube is clear and the gasket sits evenly in the lid, and leave the whistle weight off. Hold the lid just above the cooker with its handle at a right angle to the body handle, tilt it in only as far as it needs and move it towards the far side. Swing the lid handle towards the body handle, lower the rest of the lid in, rest its handle on the pivot and centre the lid, then squeeze the two handles together and push the locking loop over to latch them. Put the weight on once steam flows steadily from the vent tube.

  3. 02

    Fill with care

    Never more than two-thirds full, and only half for food that expands, like rice and dry vegetables. There must always be liquid inside.

  4. 03

    Bring up the heat gradually

    Don't go straight to full flame. If the cooker whistles continuously, turn the heat down.

  5. 04

    To open the outer lid

    Switch off the heat and let the cooker cool where it stands. Lift the weight gently with a spoon to release any leftover pressure, check again, then open the lid. With dal, rajma, milk or any other liquid or frothy food, don't lift the weight: let the cooker cool until the pressure has dropped on its own.

  6. 04

    To open the inner lid

    Switch off the heat and let the cooker cool where it stands, then lift the weight gently with a spoon to release any leftover pressure. With dal, rajma, milk or any other liquid or frothy food, don't lift the weight: let the cooker cool until the pressure has dropped on its own. Holding the lid handle, squeeze the handles and release the locking loop. If the handles are hard to push apart, it is still under pressure: wait. Then push the lid in towards the far side, swing its handle round and draw the lid out.

  7. 05

    Keep it clear

    Check the vent tube and weight for clogging from foaming or frothing food.

  8. 06

    Replace the wear parts

    Change the gasket every four to six months, as it hardens with time, and the safety valve every six months.

Avoid

  • Letting it boil dry, which is hazardous and voids the warranty.
  • Moving the cooker while it's under pressure.
  • Pressure-frying in oil.
  • Putting it in a heated oven.
  • Leaving it unattended, especially around children.

Care guide

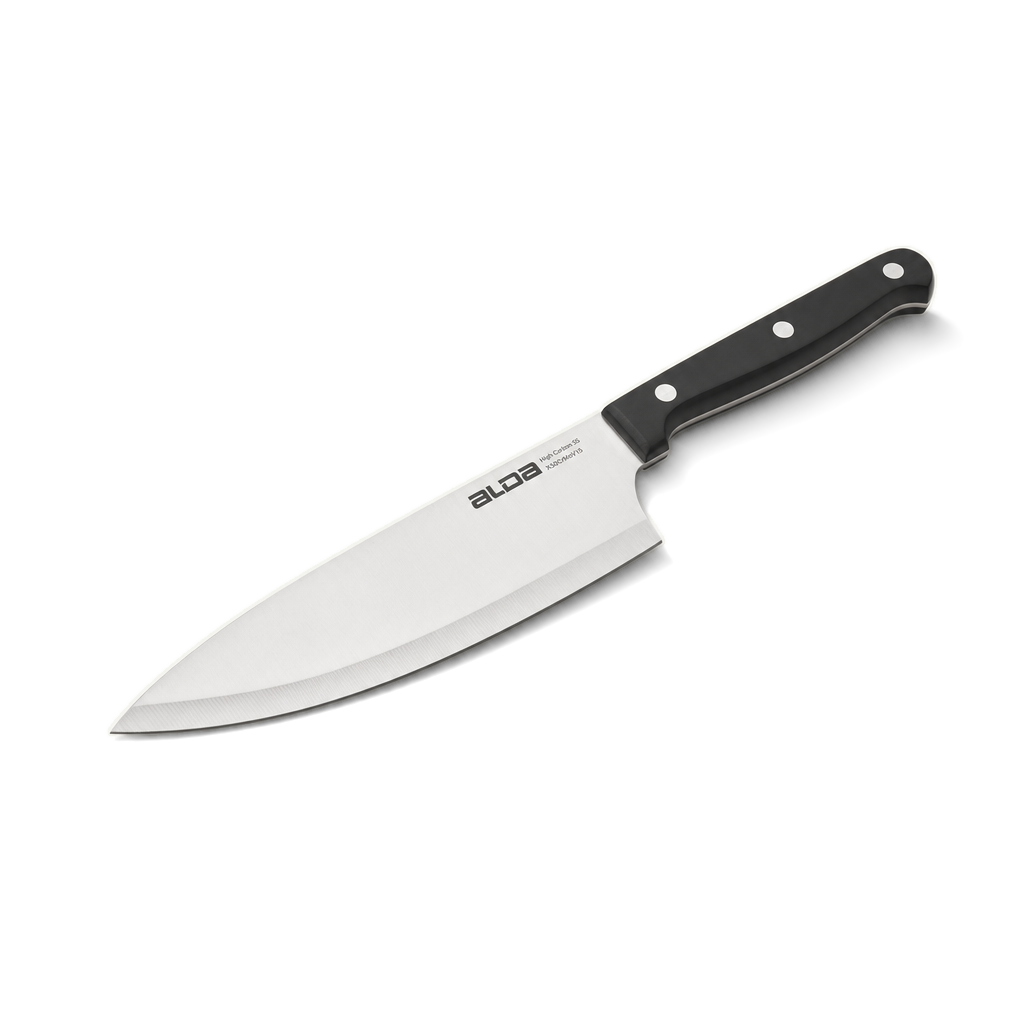
Knives

A sharp knife is a safe knife. Keep the edge, and the edge keeps you cooking.

  1. 01

    Wash by hand

    Mild soap and warm water. The dishwasher dulls the edge.

  2. 02

    Dry at once

    Wipe the blade dry with a soft cloth straight after washing.

  3. 03

    Store it safely

    In a knife block, a sheath or on a magnetic strip, where the edge can't knock against anything.

  4. 04

    Sharpen a dull edge

    Use a knife sharpener when the edge becomes dull.

  5. 05

    Hone a bent edge

    A honing rod realigns the edge between sharpening sessions. Sharpening restores a dull edge.

Avoid

  • The dishwasher.
  • Leaving it wet.
  • Loose drawers, where the edge knocks against other tools.

Care guide

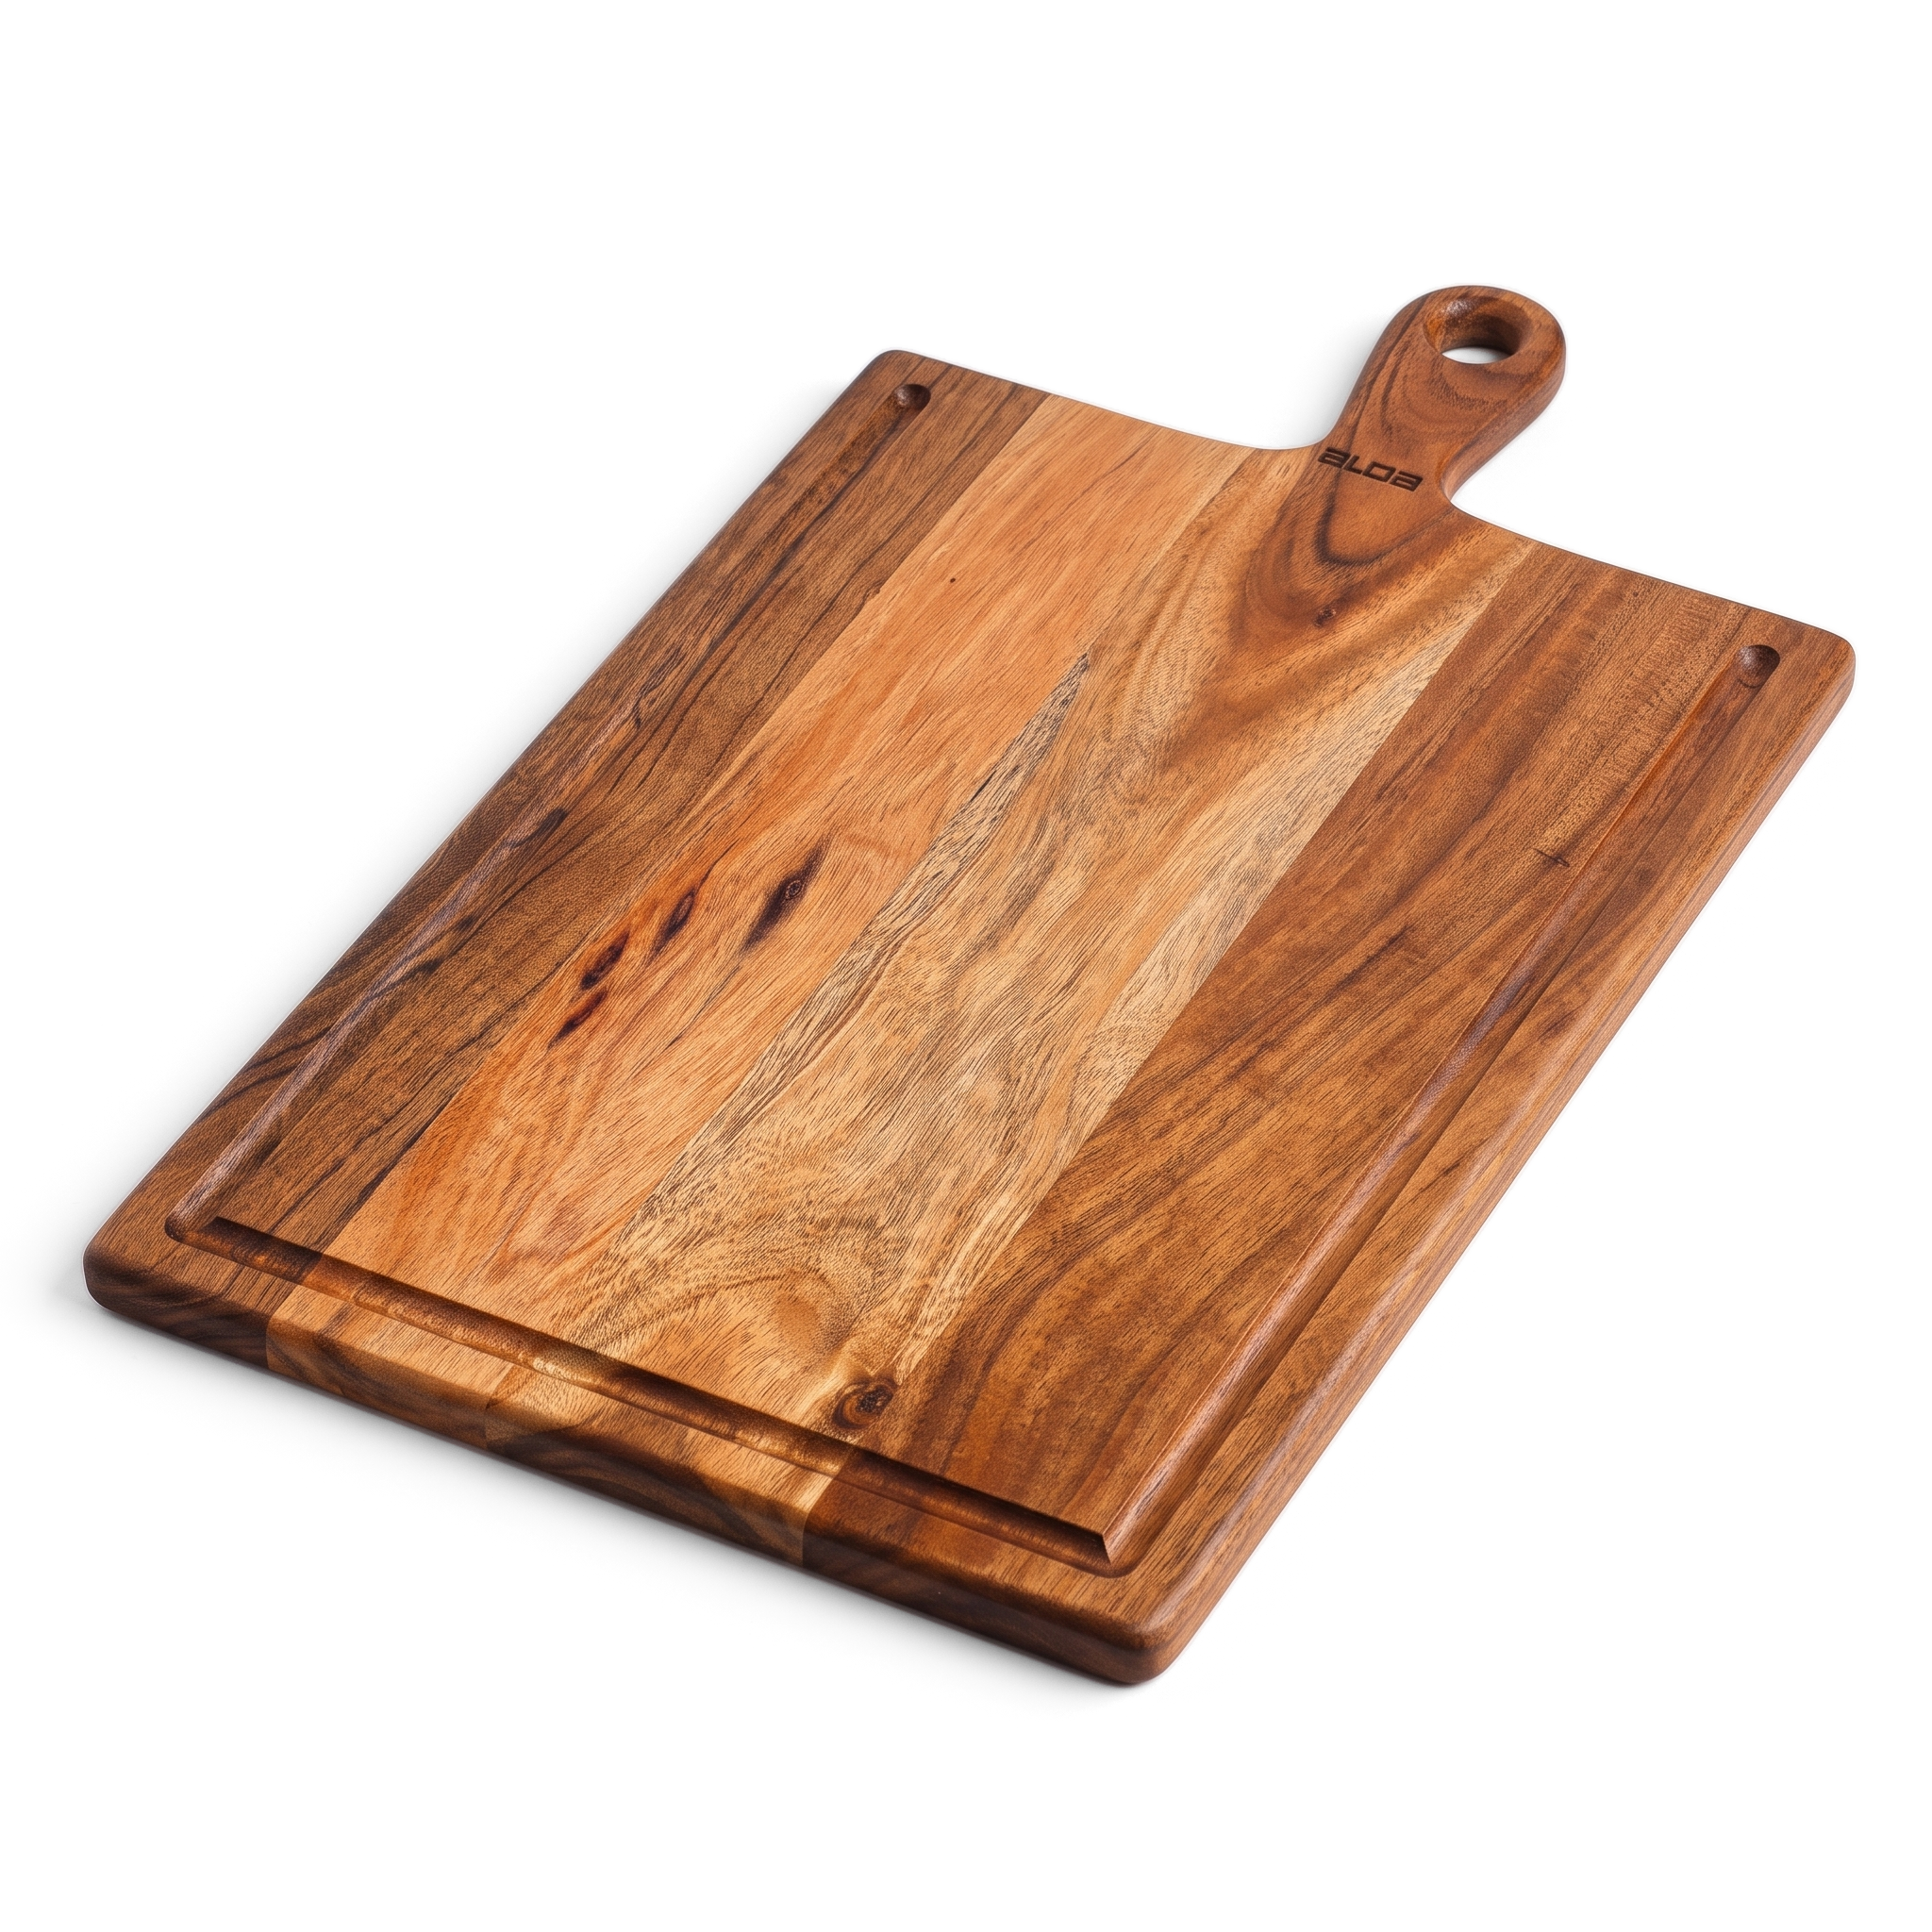
Wooden boards & tools

Seasoned hardwood, finished with food-grade mineral oil and beeswax, and handcrafted in Rajasthan. No lacquer or varnish.

  1. 01

    Wash by hand

    A damp cloth or mild soap and warm water. Never let wood sit in water.

  2. 02

    Dry it upright

    Wipe it dry straight away, then stand it on an edge so both sides breathe.

  3. 03

    Oil it when it's thirsty

    Every 2–3 weeks, or whenever the wood looks dry, spread food-grade mineral oil evenly. Leave it to soak in overnight, then wipe off the excess.

  4. 04

    Seal with beeswax

    A coat of wax over the oil seals the surface and brings back the sheen.

  5. 05

    Store it dry

    Store upright with air around both sides. Avoid extreme heat and humidity, and never leave it flat on a damp surface.

  6. 06

    Alternate the sides

    Use both sides in turn to help spread wear evenly.

  7. 06

    Wash colour away promptly

    Wash soon after cutting turmeric, beetroot, chillies, tomatoes or berries to help prevent stains.

  8. 06

    Freshen with salt and lemon

    Sprinkle coarse salt or baking soda, then rub with half a lemon to deodorise the surface. Rinse and dry promptly.

Avoid

  • The dishwasher, soaking, or extreme heat, which cause warping and cracks.
  • Olive or sunflower oil, which turn rancid in the grain.

Care guide

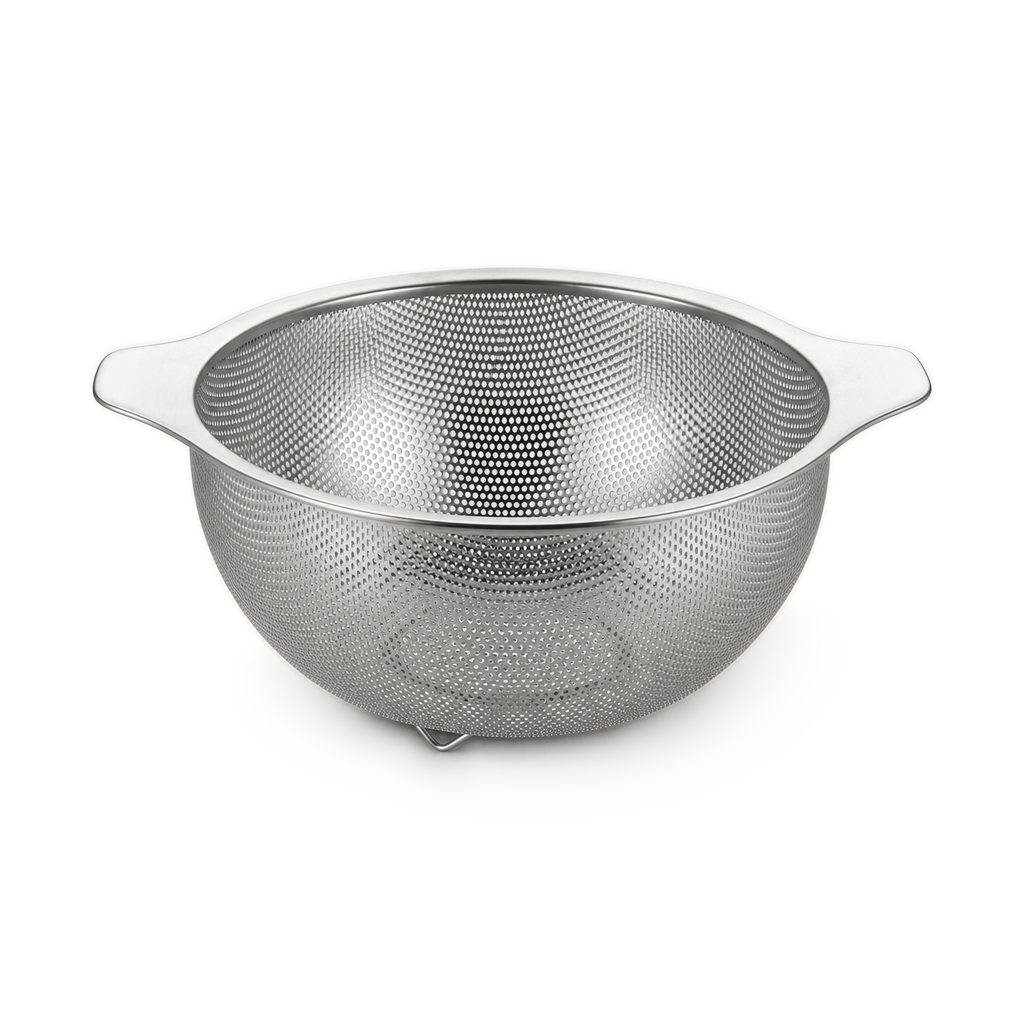
Steel colanders & strainers

304 stainless steel, so it won't cloud, stain or crack the way plastic does.

  1. 01

    Rinse straight after use

    A quick rinse after draining is usually all a strainer needs. The dishwasher is fine too.

  2. 02

    Clear hard-water film

    The chalky bloom from hard tap water is limescale, not rust. A little vinegar takes it off.

  3. 03

    Shake it dry

    Mesh and perforations both hold droplets. Give it a shake and leave it upside down for a moment.

Avoid

  • Leaving it wet in contact with rusty tools, which can mark the steel.